🇪🇸 Español (Spanish)
🇪🇸 Español (Spanish)
Appearance
🇪🇸 Español (Spanish)
🇪🇸 Español (Spanish)
Appearance
Los widgets son esencialmente componentes renderizados que pueden ser agregados a una pantalla, y que pueden ser usados por el jugador mediante varios eventos como un click del mouse, presionar una tecla, y más.
Hay varias maneras de crear una clase widget, como extender ClickableWidget (Widget Clickeable). Esta clase provee varias utilidades, como por ejemplo para manejar el ancho, la altura, la posición, y para manejar eventos - implementa las interfaces Drawable (Dibujable), Element (Elemento), Narratable (Narrable), y Selectable (Seleccionable):
Drawable - para renderizar - Requerido para registrar el widget a la pantalla mediante el método addDrawableChild.Element - para eventos - Requerido para manejar eventos como clicks del mouse, cuando se presiona una tecla, y más.Narratable - para accesibilidad - Requerido para que tu widget sea accesible a lectores de pantalla y otras herramientas de accesibilidad.Seleccionable - para selecciones - Requerido si quieres que tu widget sea seleccionable usando la tecla Tab - esto también ayuda en accesibilidad.public class CustomWidget extends ClickableWidget {
public CustomWidget(int x, int y, int width, int height) {
super(x, y, width, height, Text.empty());
}
@Override
protected void renderWidget(DrawContext context, int mouseX, int mouseY, float delta) {
// We'll just draw a simple rectangle for now.
// x1, y1, x2, y2, startColor, endColor
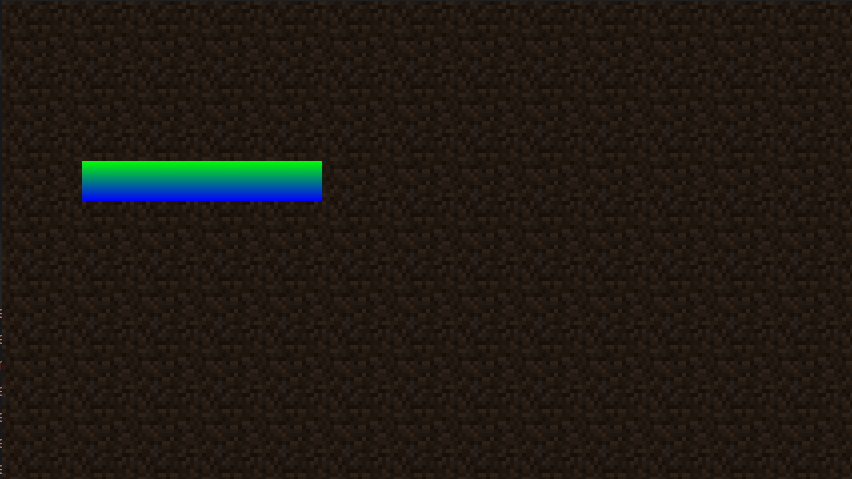
int startColor = 0xFF00FF00; // Green
int endColor = 0xFF0000FF; // Blue
context.fillGradient(getX(), getY(), getX() + this.width, getY() + this.height, startColor, endColor);
}
@Override
protected void appendClickableNarrations(NarrationMessageBuilder builder) {
// For brevity, we'll just skip this for now - if you want to add narration to your widget, you can do so here.
return;
}
}Como todos los widgets, necesitarás agregarlo a la pantalla mediante el método addDrawableChild, el cual es proveído por la clase Screen. Asegúrate de hacerlo en el método init.
// Add a custom widget to the screen.
// x, y, width, height
CustomWidget customWidget = new CustomWidget(40, 80, 120, 20);
this.addDrawableChild(customWidget);
Puedes manejar eventos como clicks del mouse, cuando se presiona una tecla, anulando el método onMouseClicked (duranteMouseClickeado), onMouseReleased (duranteMouseSoltado), onKeyPressed (duranteTeclaPresionada), y otros métodos.
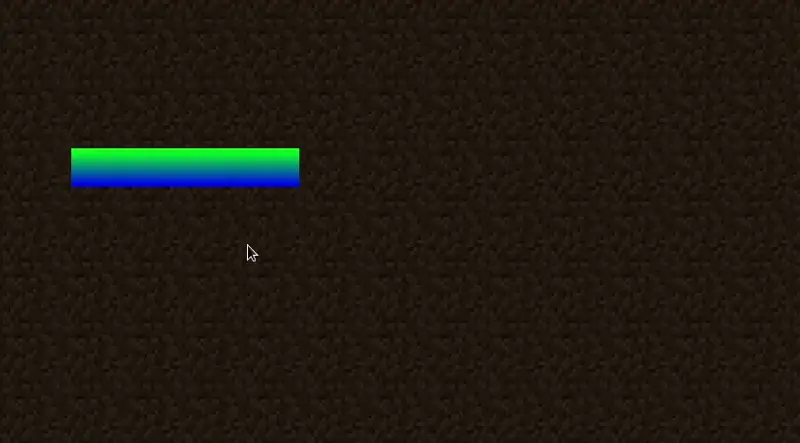
Por ejemplo, puedes hacer que el widget cambie color cuando el mouse está flotando encima del widget usando el método isHovering() proveído por la clase ClickableWidget:
// This is in the "renderWidget" method, so we can check if the mouse is hovering over the widget.
if (isHovered()) {
	startColor = 0xFFFF0000; // Red
	endColor = 0xFF00FFFF; // Cyan
}