🇬🇧 English
🇬🇧 English
Appearance


This page will introduce you into some key concepts relating to items, and how you can register, texture, model and name them.
If you aren't aware, everything in Minecraft is stored in registries, and items are no exception to that.
To simplify the registering of items, you can create a method that accepts an instance of an item and a string identifier.
This method will create an item with the provided identifier and register it with the game's item registry.
You can put this method in a class called ModItems (or whatever you want to name the class).
Mojang does this with their items as well! Check out the Items class for inspiration.
public class ModItems {
	public static Item register(Item item, String id) {
		// Create the identifier for the item.
		Identifier itemID = new Identifier(FabricDocsReference.MOD_ID, id);

		// Register the item.
		Item registeredItem = Registry.register(Registries.ITEM, itemID, item);

		// Return the registered item!
		return registeredItem;
}You can now register an item using the method now.
The item constructor takes in an instance of the Items.Settings class as a parameter. This class allows you to configure the item's properties through various builder methods.
TIP
If you want to change your item's stack size, you can use the maxCount method in the Items.Settings/FabricItemSettings class.
This will not work if you've marked the item as damageable, as the stack size is always 1 for damageable items to prevent duplication exploits.
public static final Item SUSPICIOUS_SUBSTANCE = register(
		// Ignore the food component for now, we'll cover it later in the food section.
		new Item(new FabricItemSettings().food(SUSPICIOUS_FOOD_COMPONENT)),
		"suspicious_substance"
);However, when you go in-game, you can see that our item doesn't exist! This is because you don't statically initialize the class.
To do this, you can add a public static initialize method to your class and call it from your ModInitializer class. Currently, this method doesn't need anything inside it.
public static void initialize() {
}public class FabricDocsReferenceItems implements ModInitializer {
@Override
public void onInitialize() {
ModItems.initialize();
}
}Calling a method on a class statically initializes it if it hasn't been previously loaded - this means that all static fields are evaluated. This is what this dummy initialize method is for.
INFO
If you want to add the item to a custom ItemGroup, checkout the Custom Item Groups page for more information.
For example purposes, we will add this item to the ingredients ItemGroup, you will need to use Fabric API's item group events - specifically ItemGroupEvents.modifyEntriesEvent
This can be done in the initialize method of your items class.
// Get the event for modifying entries in the ingredients group.
// And register an event handler that adds our suspicious item to the ingredients group.
ItemGroupEvents.modifyEntriesEvent(ItemGroups.INGREDIENTS)
.register((itemGroup) -> itemGroup.add(ModItems.SUSPICIOUS_SUBSTANCE));Loading into the game, you can see that our item has been registered, and is in the Ingredients item group:
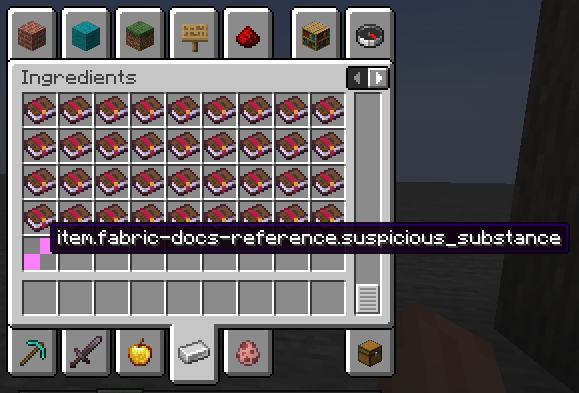
However, it's missing the following:
The item currently doesn't have a translation, so you will need to add one. The translation key has already been provided by Minecraft: item.mod_id.suspicious_substance.
Create a new JSON file at: src/main/resources/assets/<mod id here>/lang/en_us.json and put in the translation key, and it's value:
{
    "item.mod_id.suspicious_substance": "Suspicious Substance"
}You can either restart the game or build your mod and press F3 + T to apply changes.
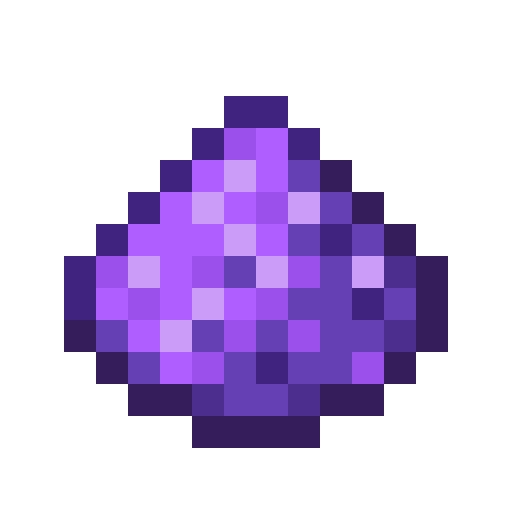
To give your item a texture and model, simply create a 16x16 texture image for your item and save it in the assets/<mod id here>/textures/item folder. Name the texture file the same as the item's identifier, but with a .png extension.
For example purposes, you can use this example texture for suspicious_substance.png
When restarting/reloading the game - you should see that the item still has no texture, that's because you will need to add a model that uses this texture.
You're going to create a simple item/generated model, which takes in an input texture and nothing else.
Create the model JSON in the assets/<mod id here>/models/item folder, with the same name as the item; suspicious_substance.json
{
    "parent": "item/generated",
    "textures": {
        "layer0": "fabric-docs-reference:item/suspicious_substance"
    }
}parent: This is the parent model that this model will inherit from. In this case, it's the item/generated model.textures: This is where you define the textures for the model. The layer0 key is the texture that the model will use.Most items will use the item/generated model as their parent, as it's a simple model that just displays the texture.
There are alternatives, such as item/handheld which is used for items that are held in the player's hand, such as tools.
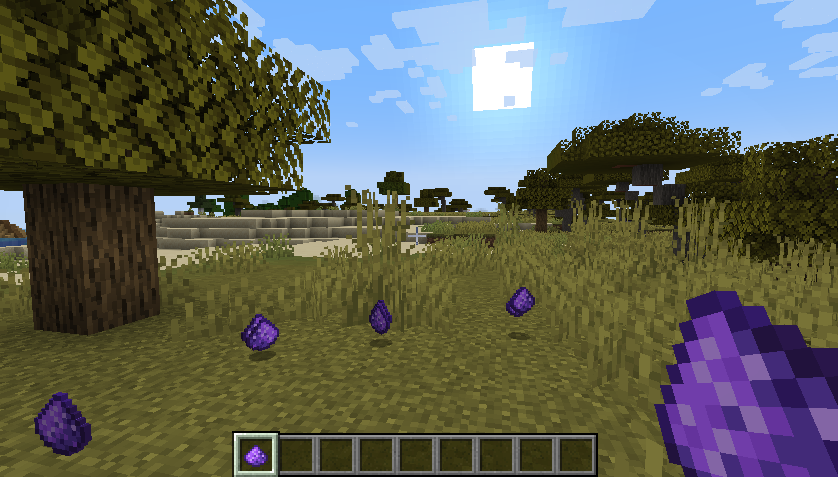
Your item should now look like this in-game:
Fabric API provides various registries that can be used to add additional properties to your item.
For example, if you want to make your item compostable, you can use the CompostableItemRegistry:
// Add the suspicious substance to the composting registry with a 30% chance of increasing the composter's level.
CompostingChanceRegistry.INSTANCE.add(ModItems.SUSPICIOUS_SUBSTANCE, 0.3f);Alternatively, if you want to make your item a fuel, you can use the FuelRegistry class:
// Add the suspicious substance to the flammable block registry with a burn time of 30 seconds.
// Remember, Minecraft deals with logical based-time using ticks.
// 20 ticks = 1 second.
FuelRegistry.INSTANCE.add(ModItems.GUIDITE_SWORD, 30 * 20);If you want to add a crafting recipe for your item, you will need to place a recipe JSON file in the data/<mod id here>/recipes folder.
For more information on the recipe format, checkout these resources:
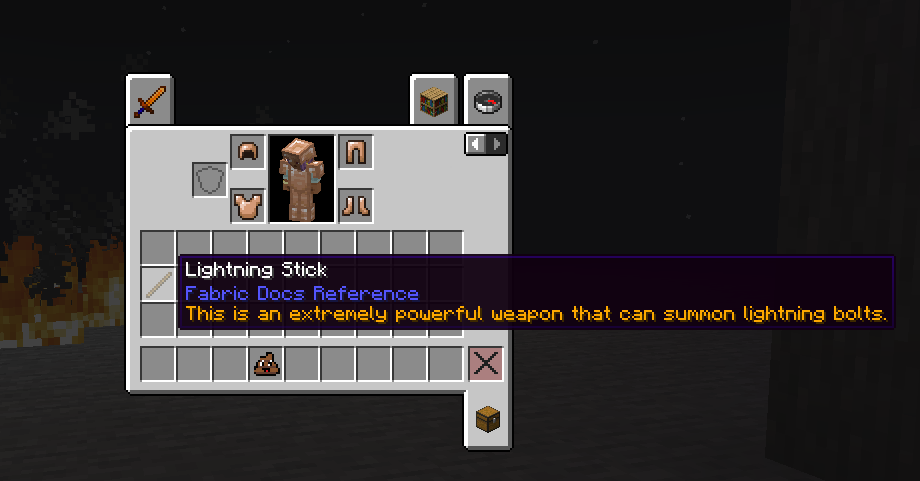
If you want your item to have a custom tooltip, you will need to create a class that extends Item and override the appendTooltip method.
INFO
This example uses the LightningStick class created in the Custom Item Interactions page.
@Override
public void appendTooltip(ItemStack stack, @Nullable World world, List<Text> tooltip, TooltipContext context) {
	tooltip.add(Text.translatable("itemTooltip.fabric-docs-reference.lightning_stick").formatted(Formatting.GOLD));
}Each call to add() will add one line to the tooltip.