🇬🇧 English
🇬🇧 English
Appearance
🇬🇧 English
🇬🇧 English
Appearance
Particles are a powerful tool. They can add ambience to a beautiful scene, or add tension to an edge of your seat boss battle. Let's add one!
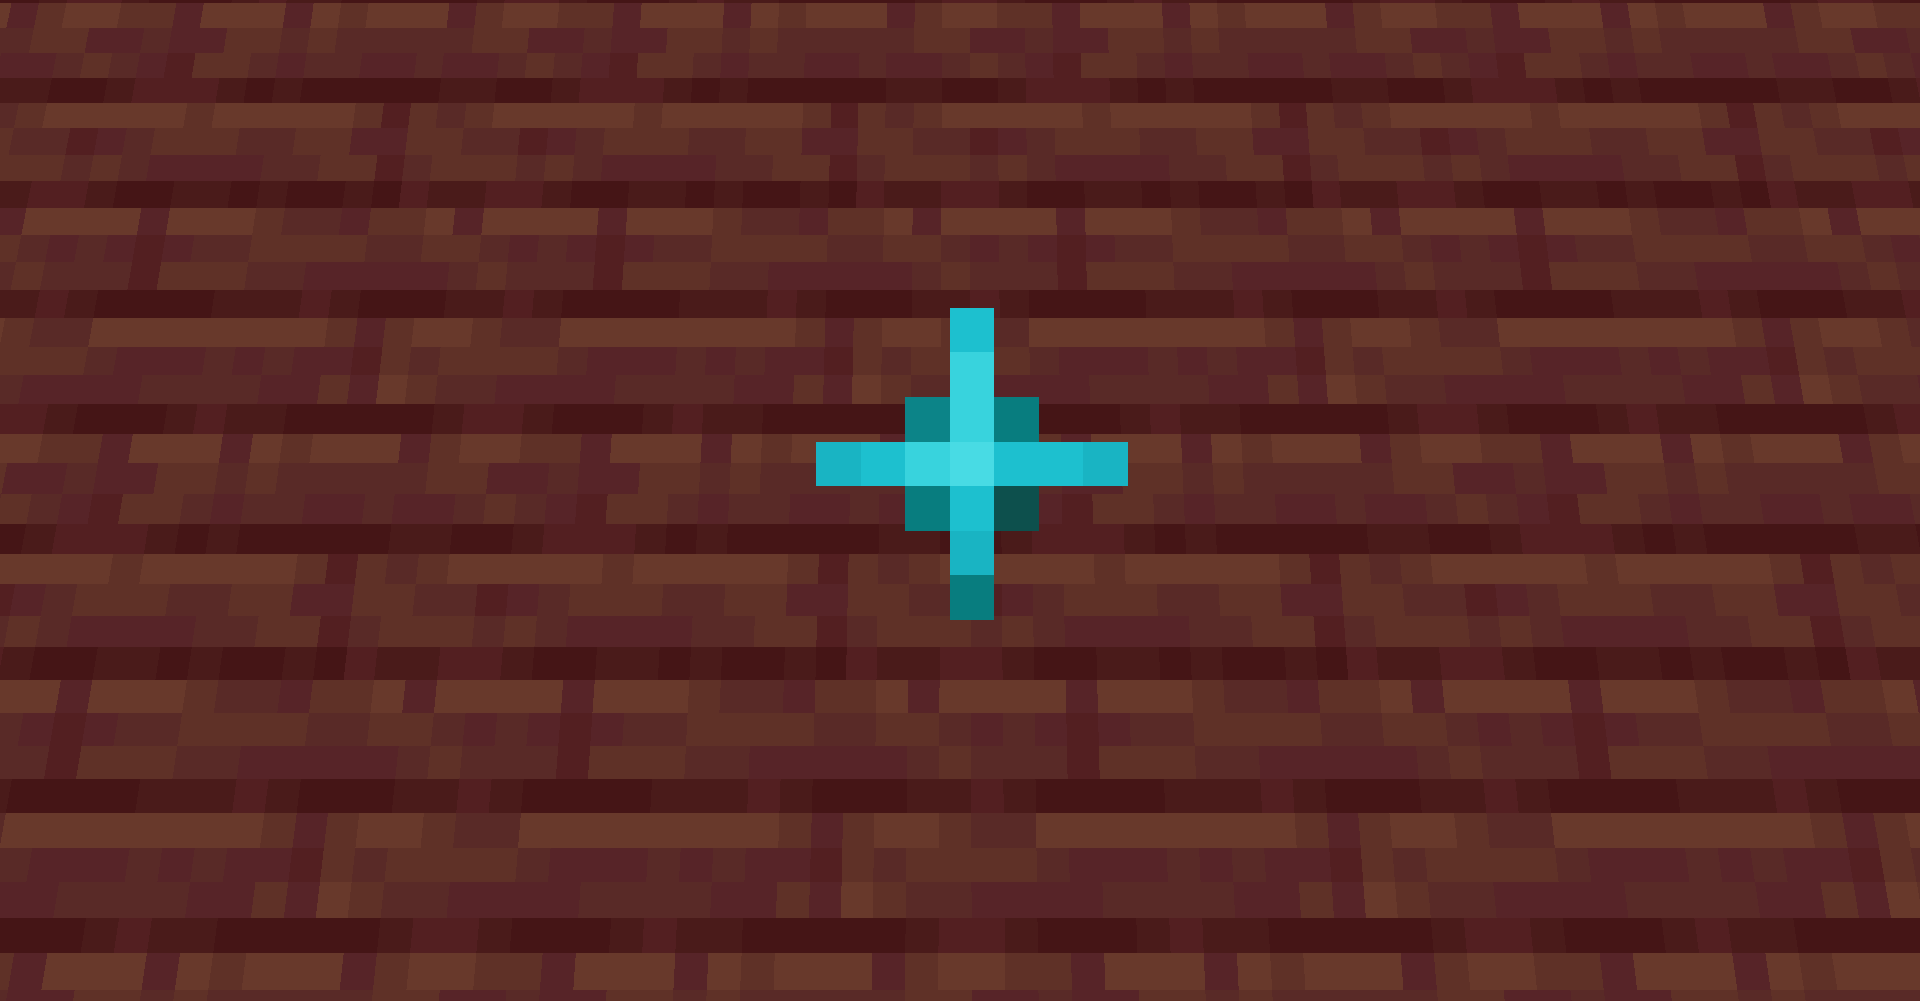
We'll be adding a new sparkle particle which will mimic the movement of an end rod particle.
We first need to register a ParticleType in your mod initializer class using your mod id.
// This DefaultParticleType gets called when you want to use your particle in code.
public static final DefaultParticleType SPARKLE_PARTICLE = FabricParticleTypes.simple();

	// Register our custom particle type in the mod initializer.
Registry.register(Registries.PARTICLE_TYPE, new Identifier(MOD_ID, "sparkle_particle"), SPARKLE_PARTICLE);The "sparkle_particle" in lowercase letters is the JSON path for the particle's texture. You will be creating a new JSON file with that exact name later.
After you have registered the particle in the ModInitializer entrypoint, you will also need to register the particle in the ClientModInitializer entrypoint.
// For this example, we will use the end rod particle behaviour.
ParticleFactoryRegistry.getInstance().register(FabricDocsReference.SPARKLE_PARTICLE, EndRodParticle.Factory::new);In this example, we are registering our particle on the client-side. We are then giving the particle some movement using the end rod particle's factory. This means our particle will move exactly like an end rod particle.
TIP
You can see all the particle factories by looking at all the implementations of the ParticleFactory interface. This is helpful if you want to use another particle's behaviour for your own particle.
You will need to create 2 folders in your resources/assets/<mod id here>/ folder.
| Folder Path | Explanation |
|---|---|
/textures/particle | The particle folder will contain all the textures for all of your particles. |
/particles | The particles folder will contain all of the json files for all of your particles. |
For this example, we will have only one texture in textures/particle called "sparkle_particle_texture.png".
Next, create a new JSON file in particles with the same name as the JSON path that you used when registering your ParticleType. For this example, we will need to create sparkle_particle.json. This file is important because it lets Minecraft know which textures our particle should use.
{
  "textures": [
    "fabric-docs-reference:sparkle_particle_texture"
  ]
}TIP
You can add more textures to the textures array to create a particle animation. The particle will cycle through the textures in the array, starting with the first texture.
Once you have completed the JSON file and saved your work, you are good to load up Minecraft and test everything out!
You can see if everything has worked by typing the following command:
/particle <mod id here>:sparkle_particle ~ ~1 ~
INFO
The particle will spawn inside the player with this command. You will likely need to walk backwards to actually see it.
Alternatively, you can also use a command block to summon the particle with the exact same command.